1. Identify the Version of Windows 7 and Product Key
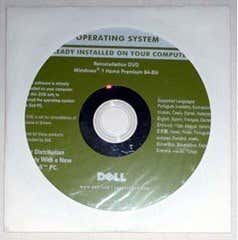
The Windows 7 Product Key is essential for reinstalling Windows and getting it activated. If you purchased your PC from a manufacturer, the product key may be printed on a label that is attached to the computer’s case. It may also be printed on some documentation that came with your PC. If you purchased a retail of copy of Windows 7, then the product key may be printed on the box or included as documentation.
The version of Windows 7 is also important, as product keys will only work with certain versions of Windows. You will learn more about this in the next step. To identify your version of Windows 7, simply launch the Start Menu, right-click on Computer and select Properties from the context menu. Of course, you could also look on the box or documentation that came with the Windows 7 purchase.
2. Download a Copy of Windows 7
The next step is to of course download a copy of Windows 7 that will eventually be burned to disc or moved to a USB drive. The only recommended way to download Windows 7 is from Microsoft itself. https://www.microsoft.com/en-us/software-download/windows7 The only thing you have to provide is the Product key. Microsoft will figure out what version of Windows 7 is needed based on the product key and give you links to download that version. If you don’t have your product key, you’re kind of out of luck.
3. Create a Windows Install Disc or Bootable USB Drive
The Windows USB/DVD download tool is a free utility from Microsoft that will allow you to burn the Windows 7 download to disc or create a bootable USB drive. At this point, you have now replaced your misplaced Windows install disc with either another disc or a bootable Windows 7 USB drive!
4. Download Drivers (optional)
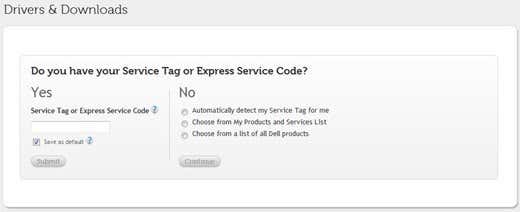
If your PC requires certain drivers for full functionality, you may also want to download these drivers and install them with Windows. Start by using Google or your search engine of choice to search the web for your particular PC and exact model, followed by keyword drivers. You should be able to find a quality link to a list of drivers that you need to download for your PC.
5. Prepare the Drivers (optional)
Once you’ve downloaded the drivers for your PC, you will need to move them to a removable disk or disc so that they can be used once you’ve installed Windows. Thus, you have a few options: 5a Burn the Drivers to Disc This is very simple and can be done with any blank CD or DVD and a PC that utilizes an optical drive with CD or DVD writing functionality. Simply insert the CD or DVD into the computer’s optical drive, create a new folder on the desktop containing all of the drivers and burn the folder to disc using the built-in Windows 7 burning option. 5b Copy the Drivers to a USB Drive Simply insert any high capacity USB drive into an available USB port on your PC and drag the drivers to the drive to copy them.
6. Install Drivers
Once you’ve reinstalled Windows, simply insert the disc containing the drivers or USB drive with the drivers (step 5a, 5b) and proceed to install the drivers for your PC.
7. Create a Bootable Windows 7 USB Drive with Drivers already installed (alternative method)
Proceed to download a Windows 7 ISO (links above), but instead of using the USB to DVD utility, jump to our article on creating a custom Windows 7 image. That’s basically all there is to it. Lost Windows 7 install DVD? Now you can simply replace it or create a bootable USB drive. Thank you for stopping by the site for today’s post.


