Macros are a series of pre-recorded commands. They run automatically when a specific command is given. If you have tasks in Microsoft Excel that you repeatedly do, such as accounting, project management, or payroll, automating these processes can save a lot of time. Under the Developer tab on the Ribbon in Excel, users can record mouse clicks and keystrokes (macros). However, some functions require more in-depth scripting than macros can provide. This is where VBA scripting becomes a huge benefit. It allows users to create more complex scripts. In this article, we will explain the following:
Enabling Scripts & MacrosHow to Create a Macro in ExcelSpecific Example of a MacroLearn More About VBACreate a Button to Get Started with VBAAdd Code to Give the Button FunctionalityDid it Work?
Enabling Scripts & Macros
Before you can create macros or VBA scripts in Excel, you must enable the Developer tab on the Ribbon menu. The Developer tab is not enabled by default. To enable it:
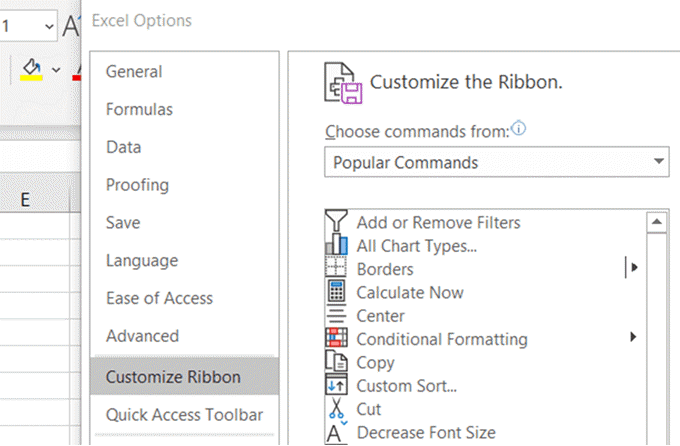
Open an Excel worksheet.Click on File > Options > Customize Ribbon.
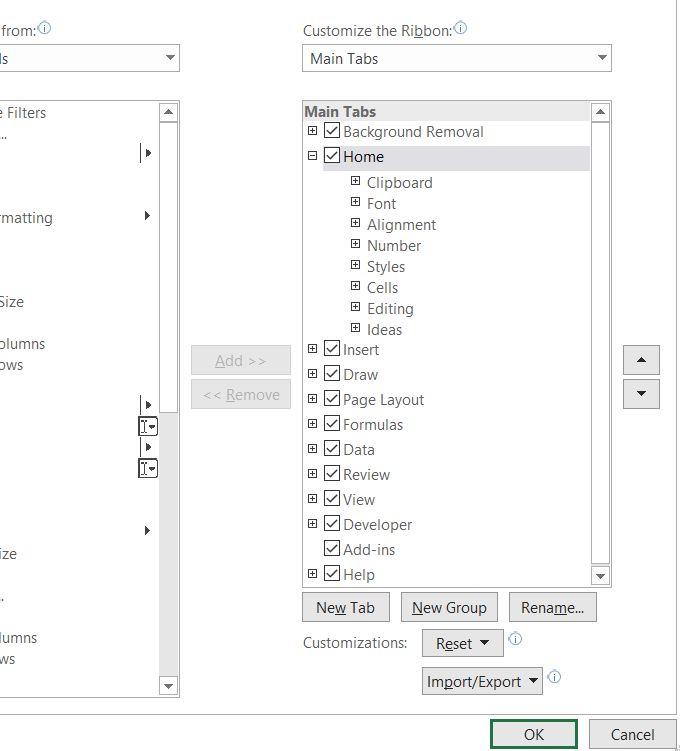
Put a tick in the box next to Developer.
Click on the Developer tab from the Ribbon menu.
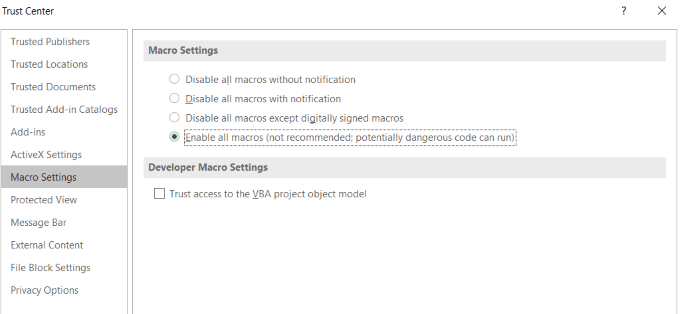
Next, click on Macro Security and tick the box next to Enable all macros (not recommended; potentially dangerous code can run). Then click OK.
The reason macros are not turned on by default and come with a warning is that they are computer code that could contain malware. Make sure the document is from a trusted source if you are working on a shared project in Excel and other Microsoft programs. When you are done using your scripts and macros, disable all macros to prevent potentially malicious code from infecting other documents.
Create a Macro in Excel
All the actions you take in Excel while recording a macro are added to it.
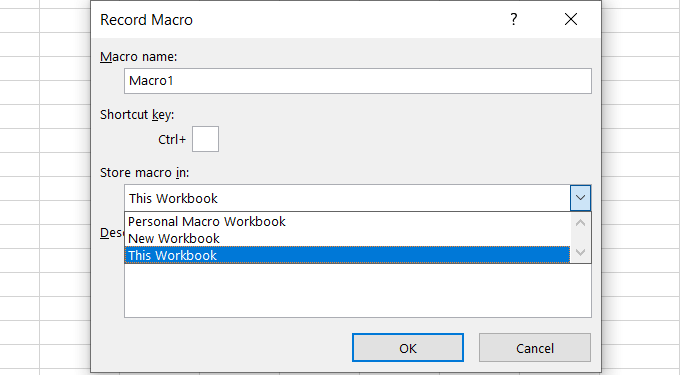
From the Developer tab, click on Record Macro.
Enter a Macro name, a Shortcut key, and a Description. Macro names must begin with a letter and can’t have any spaces. The shortcut key must be a letter.
Decide where you want to store the macro from the following options:
Personal Macro Workbook: This will create a hidden Excel document with stored macros to be used with any Excel documents.New Workbook: Will create a new Excel document to store the created macros.This Workbook: This will only be applied to the document you are currently editing.
When done, click OK.
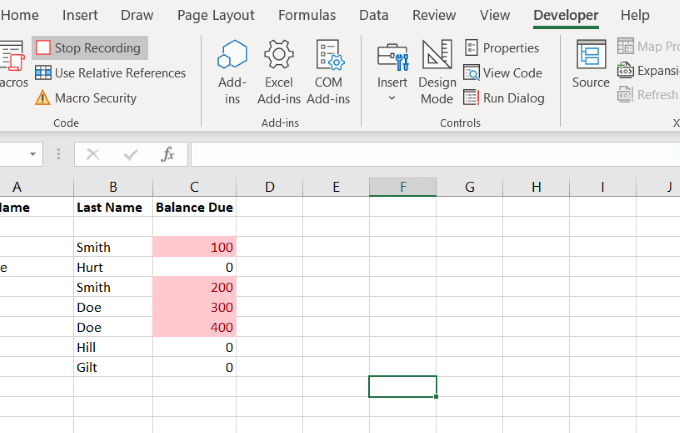
Run through the actions you want to automate. When you are finished, click Stop Recording. When you want to access your macro, use the keyboard shortcut you gave it.
Specific Example Of a Macro
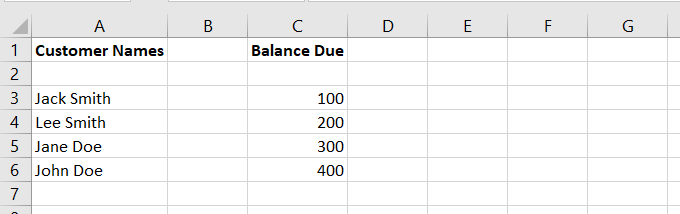
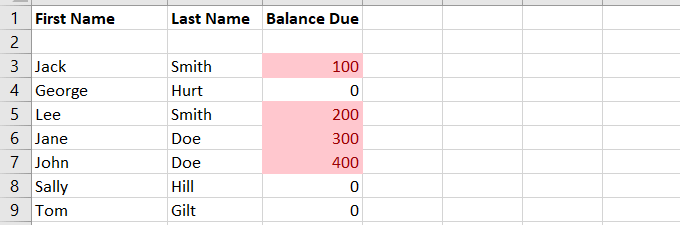
Let’s start with a simple spreadsheet for customers and how much they owe. We will begin by creating a macro to format the worksheet. Let’s assume that you decide that all spreadsheets should use a different format such as putting first and last name in separate columns. You can manually change this. Or you can create a program using a macro to automatically format it correctly for you.
Record The Macro
Click on Record Macro. Let’s call it Format_Customer_Data and click OK. To get the formatting we want, we will change the first column name to First Name. Then insert a column next to A and call it Last Name. Highlight all the names in the first column (which still include first and last name), and click on Data from the ribbon navigation.Click on Text to Columns.
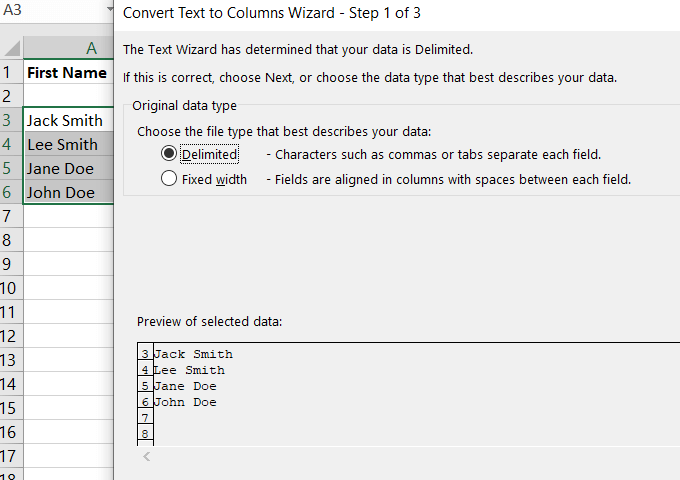
Tick Delimited > Next > Separate by Space > Next > Finish. See screenshot below and how the first and last names were separated by the process above.
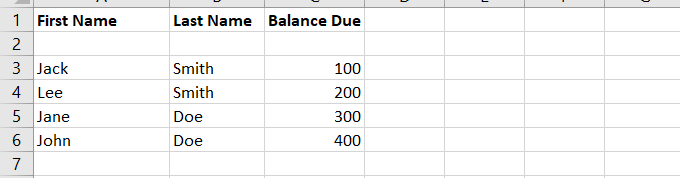
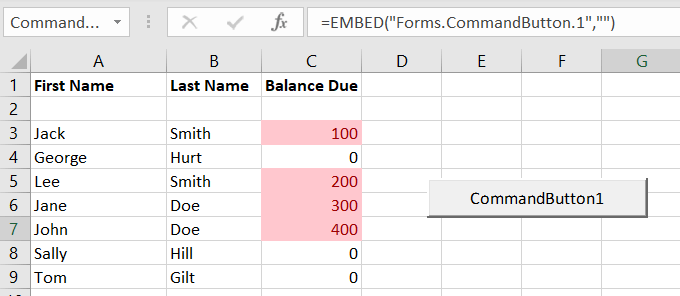
To format the Balance Due field, highlight the amounts. Click on Home > Conditional Formatting > Highlight Cell Rules > Greater Than > 0.
This will highlight the cells that have a balance due. We added a few customers with no balance due to further illustrate the formatting.
Go back to Developer and click Stop Recording.
Apply The Macro
Let’s start with the original spreadsheet before we recorded the macro to format it correctly. Click on Macros, select and Run the macro you just created. When you run a macro, all the formatting is done for you. This macro we just created is stored in the Visual Basic Editor. Users can run macros in several different ways. Read Run a macro to learn more.
Learn More About VBA
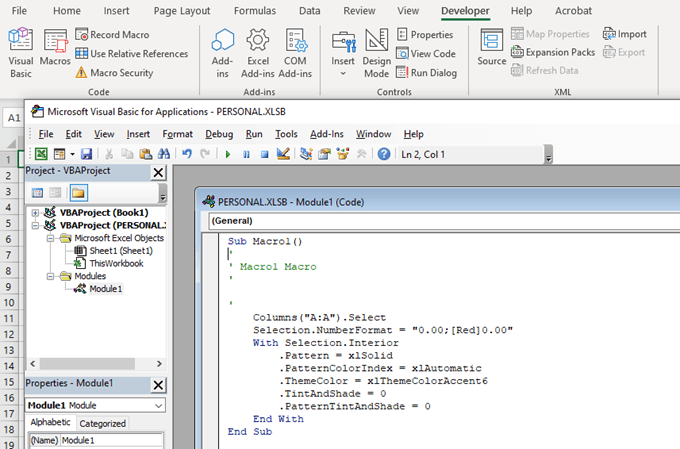
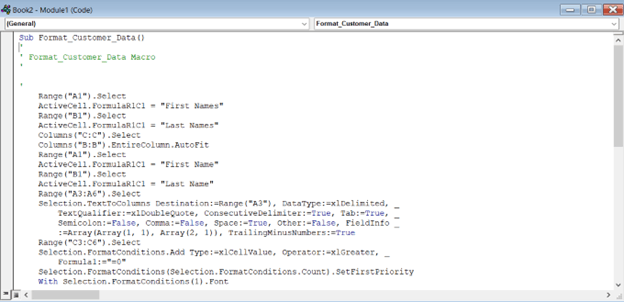
To learn about VBA, click on Macro from the Developer tab. Find one you have created and click Edit. The code you see in the box above is what was created when you recorded your macro. It is also what you will run when you want to format other customer payment spreadsheets in the same way.
Create a Button To Get Started With VBA
Using the same spreadsheet above with customers and how much they owe, let’s create a currency converter.
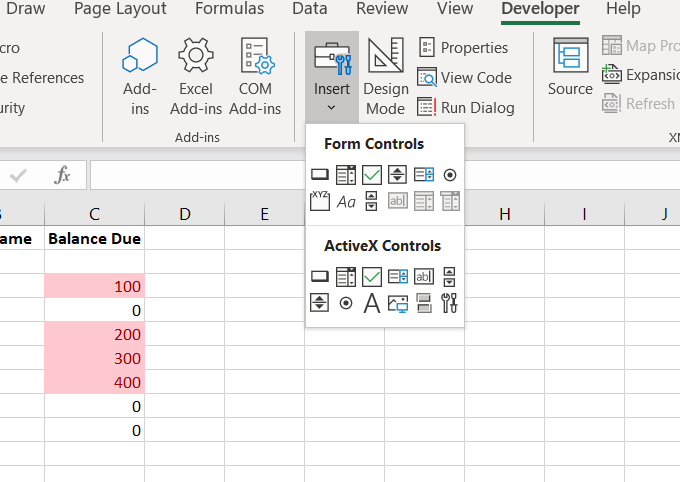
To insert a button element, navigate to the Developer tab. Select ActiveX Command Button from the dropdown next to Insert in the Controls section.
Drag the button anywhere on the spreadsheet so you can easily access it and change it later if you want.
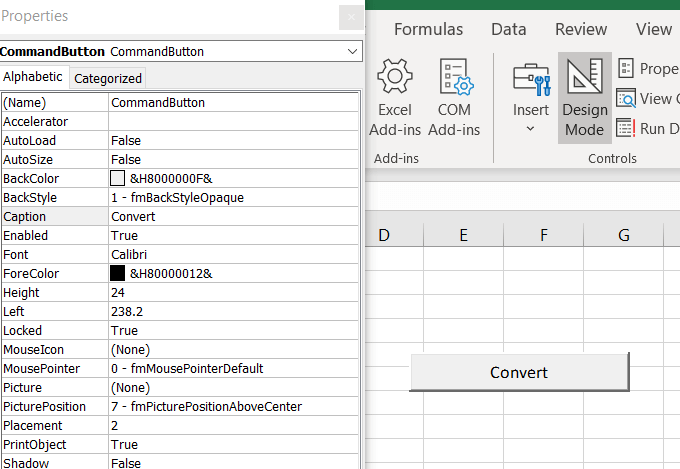
To attach the code, right-click on the button and select Properties. We will keep the Name as CommandButton and the Caption to Convert (this is the button text).
Add Code To Give The Button Functionality
VBA coding doesn’t take place in the Excel interface. It is done in a separate environment.
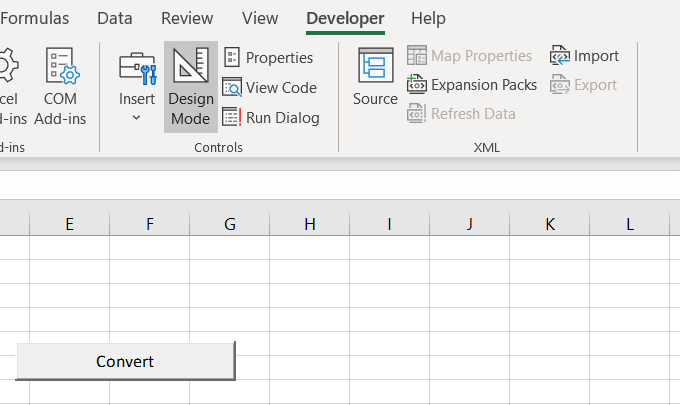
Go to the Developer tab and make sure Design Mode is active.
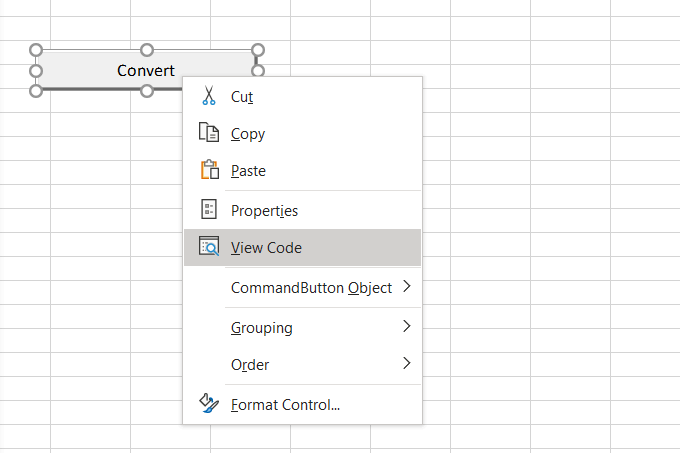
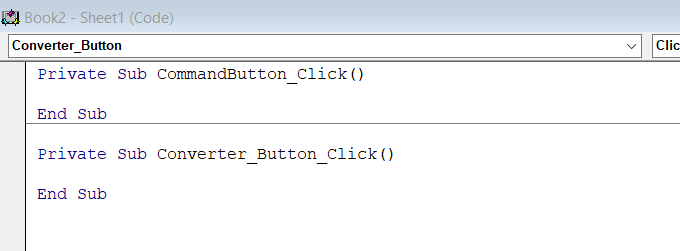
To access the code of the button we just created, right-click on it and select View Code.
Looking at the code in the screenshot below, notice the beginning (Private Sub) and end (End Sub) of the code is already there.
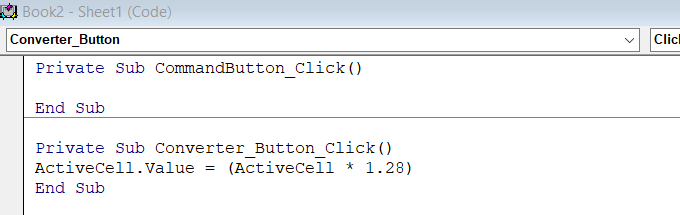
The code below will drive the currency conversion procedure.
ActiveCell.Value = (ActiveCell * 1.28) Our purpose in this section is to convert the currency in our spreadsheet. The script above reflects the exchange rate from GBP to USD. The new value of a cell will be what is currently there multiplied by 1.28. The screenshot below shows you how the code looks in the VBA window after you insert it .
Go to File in the top navigation and click on Close and Return to Microsoft Excel to return to the main Excel interface.
Did It Work?
Before you can test your code, you must first disable Design Mode (click on it) to avoid further modifications and give the button functionality.
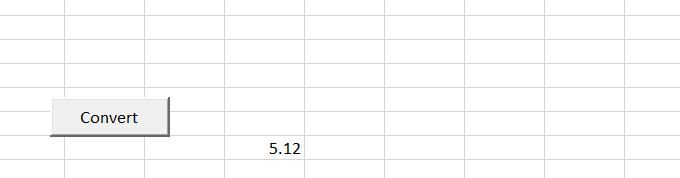
Type any number into your spreadsheet and then click the Convert button. If the value of your number increases by approximately one-quarter, it worked.
For this example, I put the number 4 into a cell. After clicking Convert, the number changed to 5.12. Since 4 times 1.28 is 5.12, the code was carried out correctly. Now that you understand how to create a macro or script in Excel, you can use them to automate a multitude of actions in Excel.